How to Get Started on Pinterest (For Beginners)
Pinterest for beginners doesn’t have to mean staring at a blank profile wondering where to click first. The platform behaves more like a search engine than a social feed, and once that clicks, the setup order stops feeling random. This guide will walk you through the steps so a brand-new account can go from empty to publishing its first real pins.
Step 1: Set Up a Free Pinterest Business Account
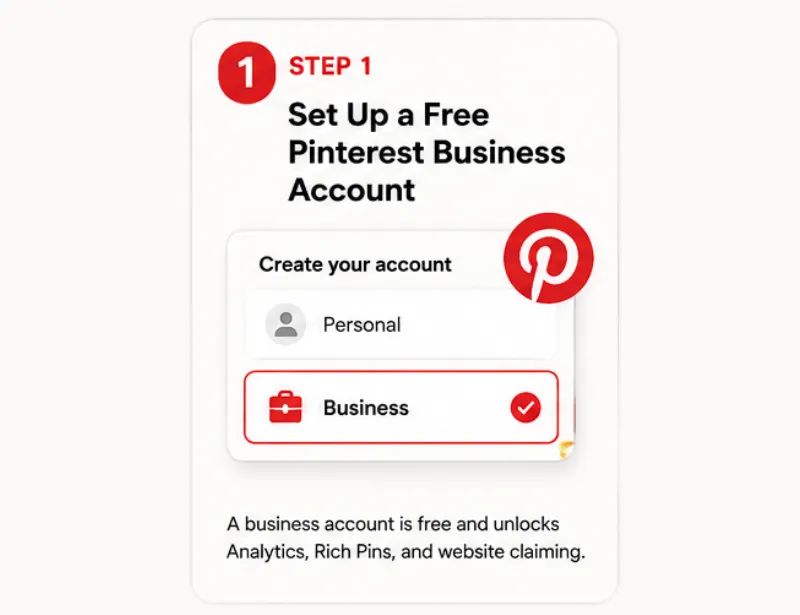
A personal account limits you to browsing and saving. A business account unlocks Pinterest Analytics, Rich Pins, and the ability to claim your website, and it costs nothing to switch.
If you’re starting from scratch, choose the business option during sign-up. If you already use Pinterest personally, convert that account instead. Converting keeps every pin, board, and follower you already have; nothing gets wiped or reset in the process.
Step 2: Claim Your Website
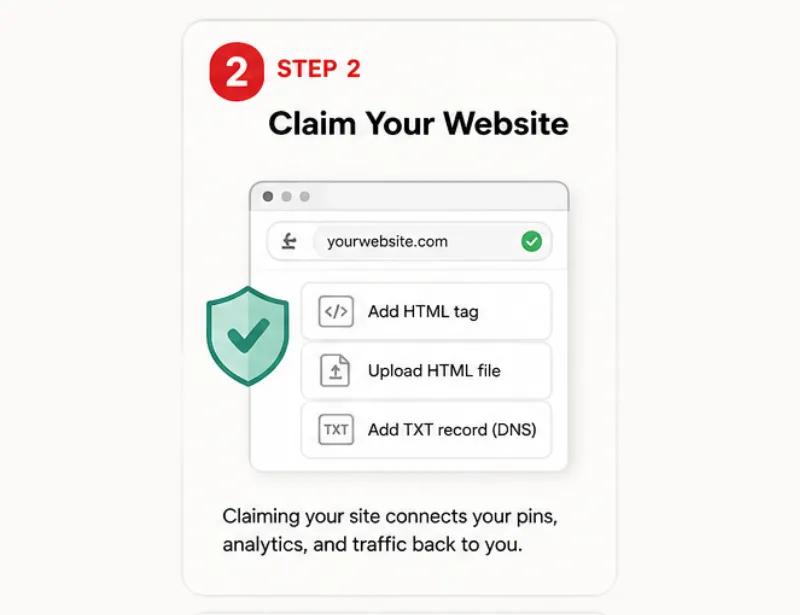
Claiming tells Pinterest which website belongs to you, and it’s what ties the traffic your pins generate back to your account’s analytics. Pinterest currently offers three verification methods: adding an HTML tag to your site’s header, uploading an HTML file to your server, or adding a TXT record through your domain’s DNS settings.
The DNS method takes a few extra minutes to set up through your domain registrar, but it holds up the longest. It lives at the domain level, so a theme change, a plugin update, or even a full site rebuild won’t break it, while a tag or uploaded file can get wiped out the moment your site’s code changes.
Step 3: Turn On Rich Pins
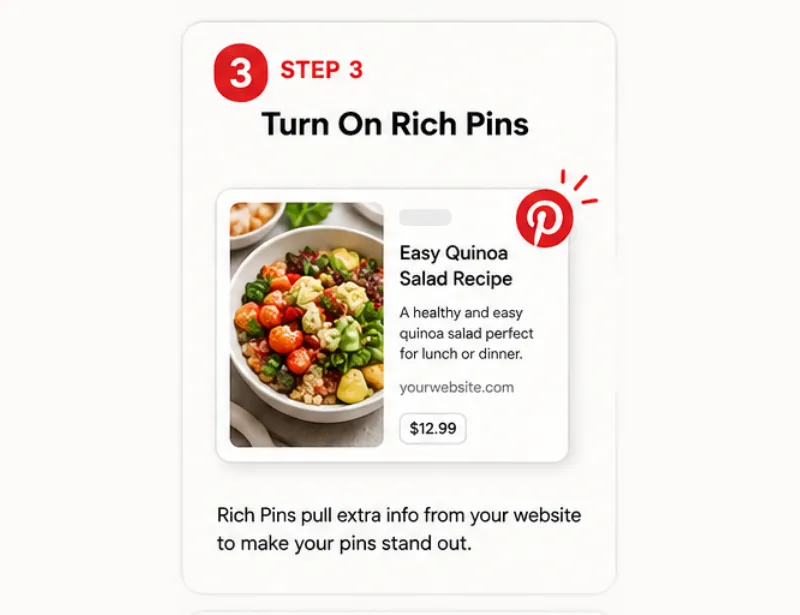
Rich Pins pull extra information straight from your website (the article title, a description, sometimes a price) and display it on the pin itself. A Rich Pin looks more finished next to a plain image, which tends to earn it more clicks.
Set them up through Pinterest’s developer tools once your site is claimed. You’ll need a few meta tags added to your pages, and most SEO plugins can generate those for you automatically.
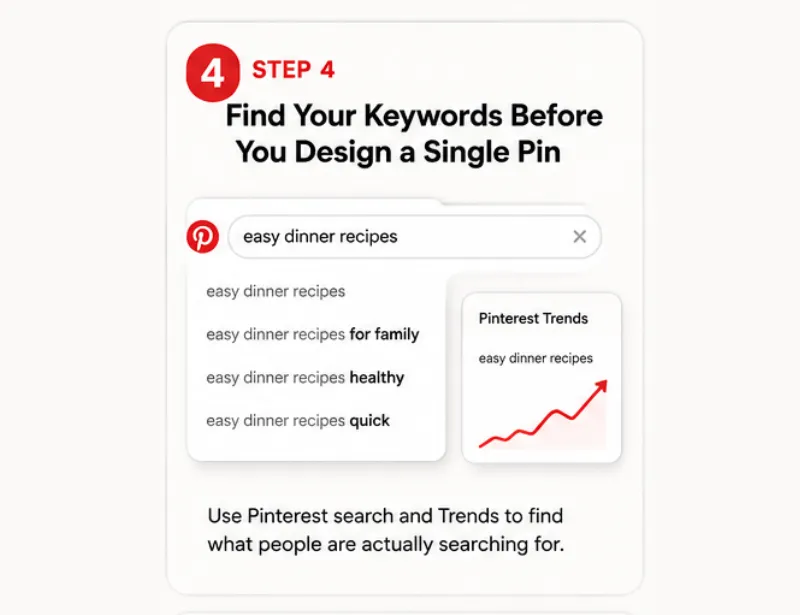
Step 4: Find Your Keywords Before You Design a Single Pin
Skipping keyword research is the most common reason a new account stalls. Pinterest reads your pin titles, descriptions, and board names as search terms, so if those words don’t match what people actually type into the search bar, your pins won’t surface no matter how good they look.
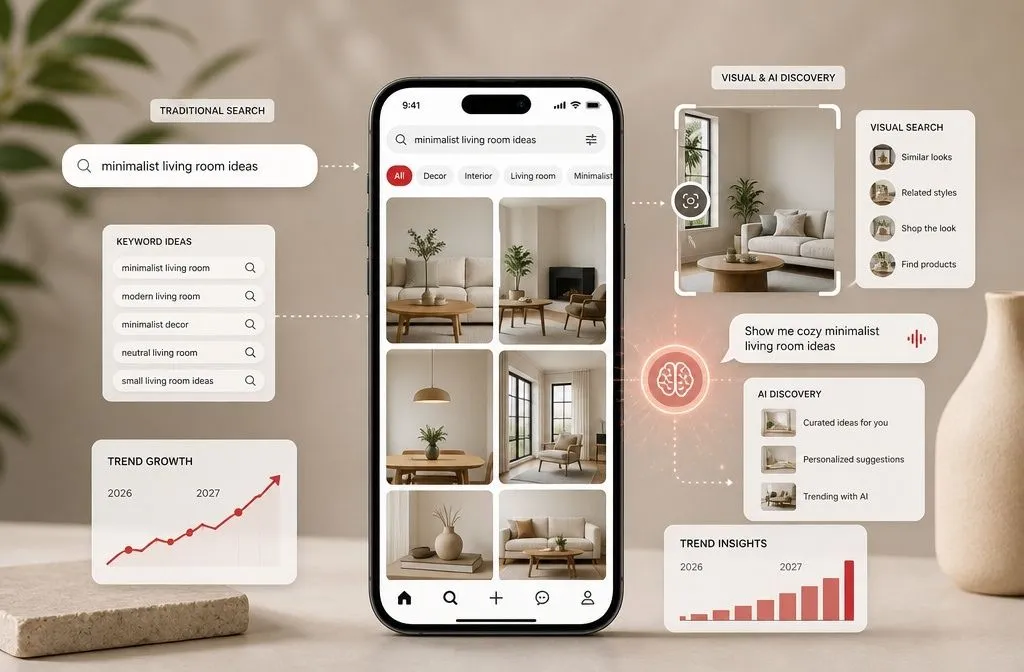
Start with the Pinterest search bar itself. Type your topic and note what autocompletes, since those suggestions come straight from real searches. Cross-check the results in Pinterest Trends to see which ones are growing or seasonal, and keep a running list of the terms that show up most often across both.
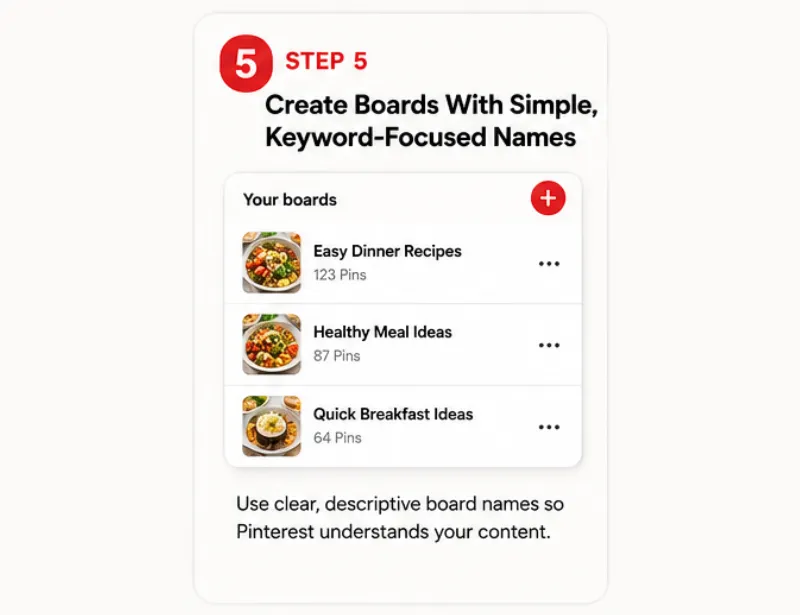
Step 5: Create Boards With Simple, Keyword-Focused Names
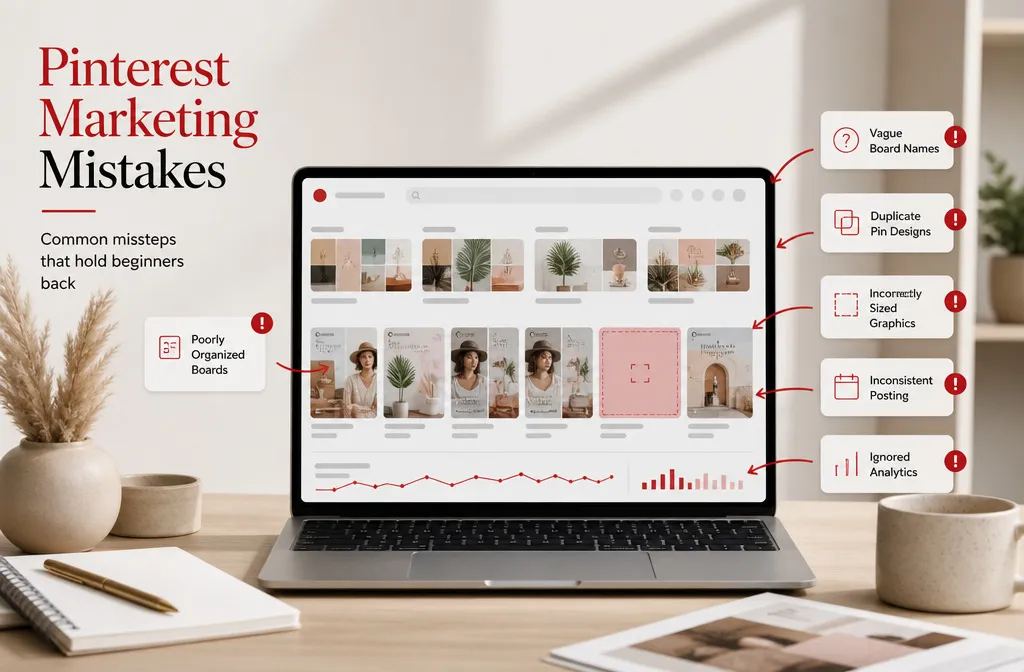
Name each board exactly what it is. “Easy Dinner Recipes” tells Pinterest, and your future audience, precisely what to expect; “My Favorites” tells them nothing. Save the adjectives like “great” or “amazing” for your pin titles and keep board names plain.
Build one board per topic instead of a few broad, catch-all boards. A narrower set of clearly named boards is easier for Pinterest to match to the right searches, and it gives you more places to organize content as your site grows.
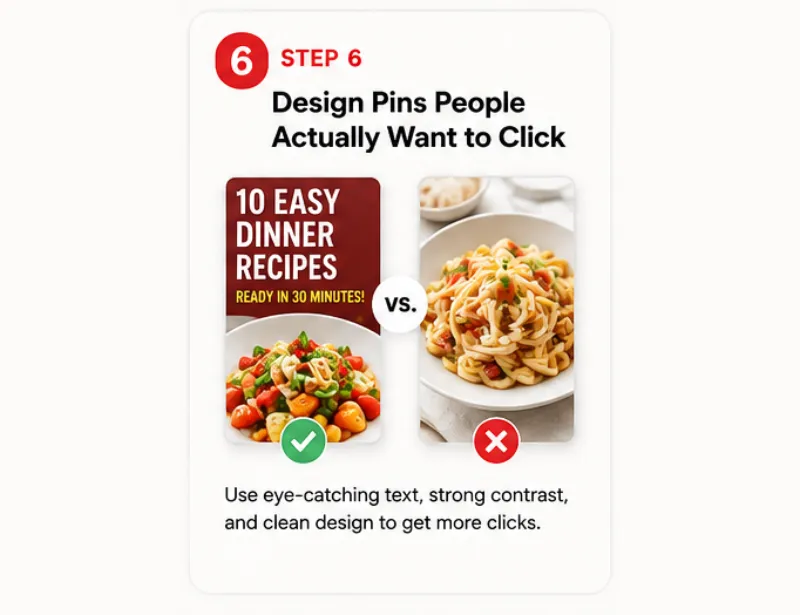
Step 6: Design Pins People Actually Want to Click
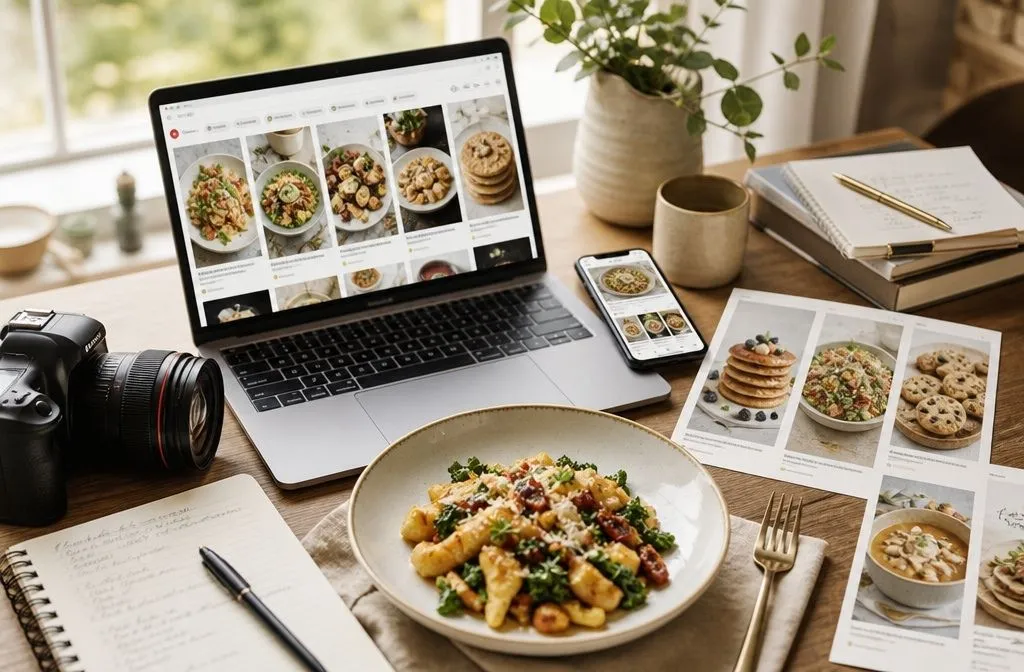
Most beginners default to plain product photos, but text-over-image pins usually outperform them for informational content like advice posts, recipes, and how-to guides. Pure images tend to work better in visual, inspiration-driven niches such as home decor or fashion, where the photo itself is the draw.
Keep the design simple: a large, easy-to-read font (never a script typeface), strong image contrast, and enough white space that the pin doesn’t feel cluttered. Whatever style you land on first, plan to test one or two alternatives once you have a few weeks of data behind you. Accounts that never change their visual style tend to plateau.
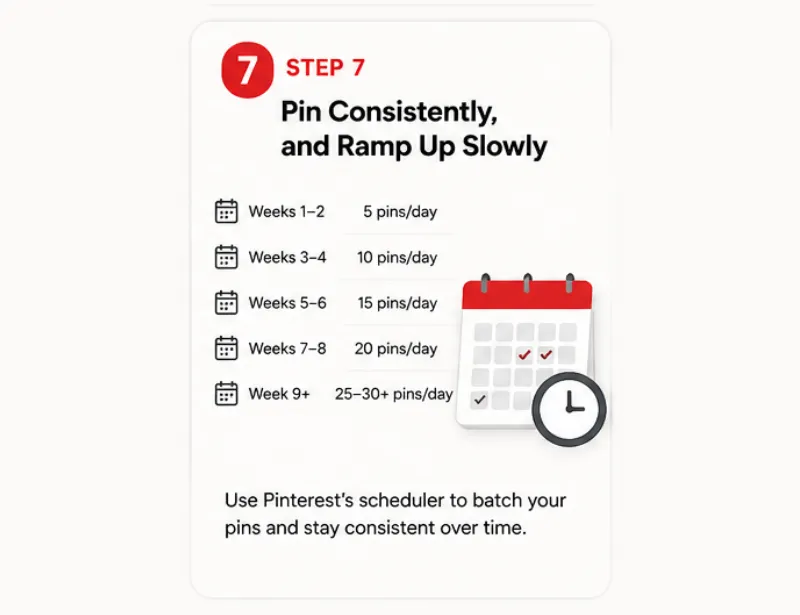
Step 7: Pin Consistently, and Ramp Up Slowly
Jumping straight to a high daily volume on a brand-new account can make it look automated before it has any history with Pinterest. A slower ramp gives the account time to build a track record first:
- Weeks 1-2: 5 pins/day
- Weeks 3-4: 10 pins/day
- Weeks 5-6: 15 pins/day
- Weeks 7-8: 20 pins/day
- Week 9 onward: 25 to 30+ pins/day, if you can keep the quality and variety up
Pinterest’s native scheduler lets you queue pins up to 30 days ahead and hold up to 100 in the queue at once, so you don’t need to log in daily to stay consistent. Batch your pin creation in one sitting each week, then let the scheduler space them out for you.
If working through all seven steps above feels like more than you want to take on solo, that’s the exact gap our Pinterest management service at Khrizclusive was built to close. We handle the account setup, keyword research, board strategy, and daily pinning schedule so you can spend that time writing content instead of babysitting a scheduler. Book a free 15-minute discovery call to see whether the Starter, Growth, or Premium package fits where your account is right now.
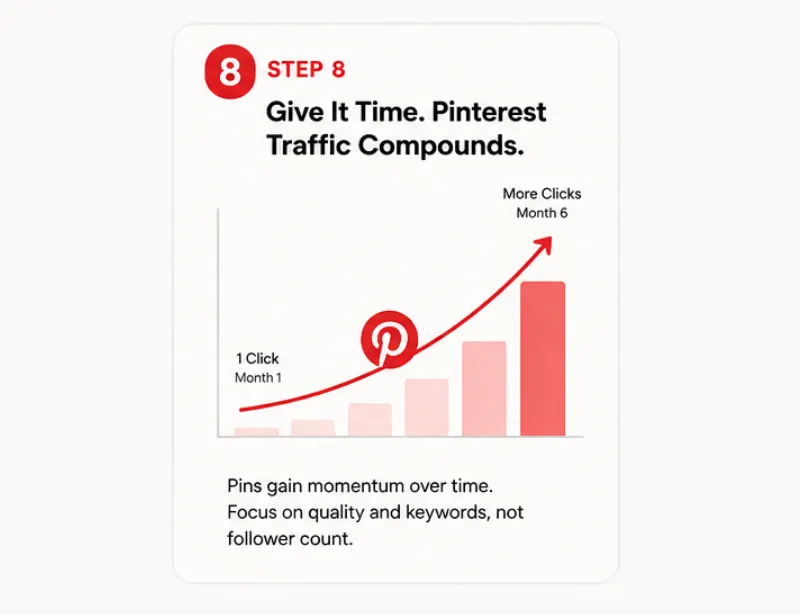
Step 8: Give It Time. Pinterest Traffic Compounds.
A brand-new account typically needs three to six months before traffic becomes meaningful, and that’s normal, not a sign something’s broken. A pin that earns one click in its first month can pick up far more by month six as Pinterest’s algorithm shows it to more of the right people.
Follower count isn’t the metric to watch. Most Pinterest traffic comes from the home feed and search results, not from people who already follow your account, so a small following with well-targeted pins will consistently outperform a large one that ignores keyword research.
Getting started on Pinterest really is mostly about sequencing: business account first, then claiming your site, then keywords, then boards, then pins. Skip a step and you’ll spend more time troubleshooting than pinning. Follow this Pinterest for beginners order, stay consistent for a few months, and the traffic curve does the rest.